How to Roast Coffee Beans? 5 Easy Methods You’ll Love!
Have you heard your friends talk about the difference home roasting makes? Or seen videos of people effortlessly roasting their own coffee beans at home. And now the thought of enjoying a cup made from freshly roasted beans sounds too good to pass up, right? But you have no idea how to roast coffee beans and which equipment to use.
Well, no need to worry. I have got you covered. Today, let’s learn how to roast coffee beans professionally at home. Sounds interesting right? Let’s dive into it right away!
Why Roasting the Beans at Home Matters?
After knowing the benefits of roasting coffee beans at home, I am pretty sure you will not turn back to buying roasted beans from the store. If you already know benefits of coffee bean roasting, skip and directly click the roasting methods below.
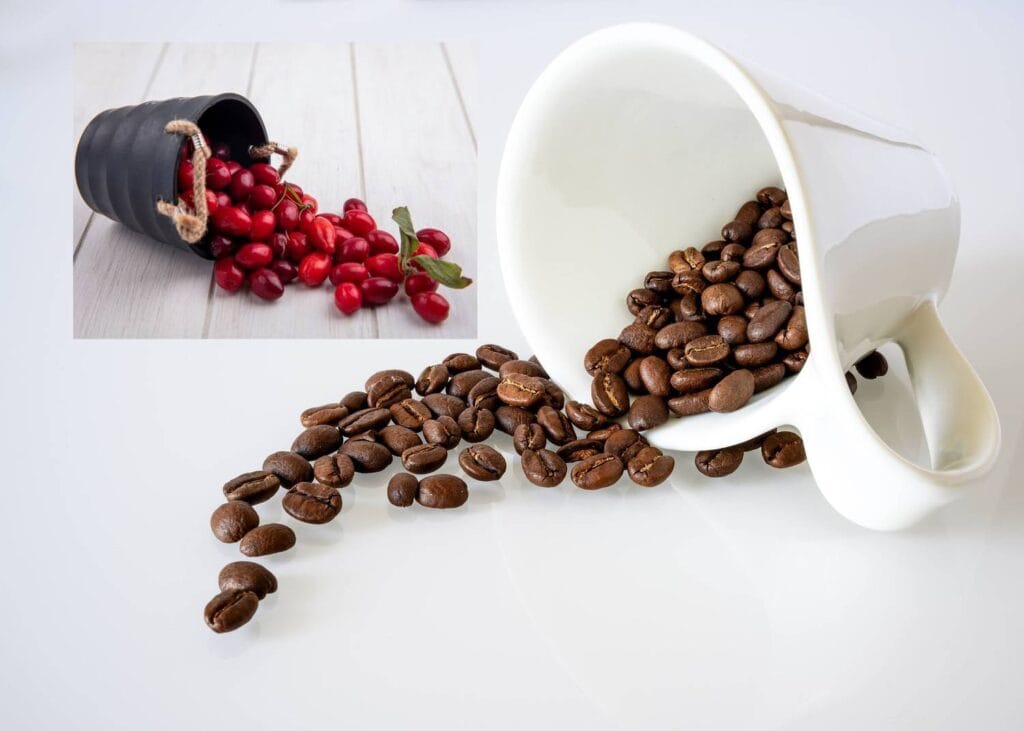
As a coffee lover, you must know that the most important thing about a coffee is its flavor. Freshly roasted coffee beans ensure a more flavorful and aromatic coffee than the one made from pre-roasted stored beans. Because as we store the roasted beans, with the passage of time, they start losing their original aroma and flavor. And no, eating coffee beans straight from the bag won’t magically bring that flavor back – trust me, I’ve tried!
The second benefit is cost saving, who does not like saving an extra penny? Roasting coffee beans at home is less costly than buying the same from a store.
Last but definitely not the least, roasting the beans at home gives you complete control over the degree of roast. Yes you, according to your liking, can decide whether to roast the beans, light, medium, or dark. Cool right?
You can adjust the flavor by adding some more green beans to it too. In short, there are endless benefits of roasting coffee beans at home. And, it’s all worthwhile to know how to roast coffee beans.
| Did You Know? |
|---|
| It’s a common misconception that light roast coffees have higher caffeine levels. In reality, the roasting process has minimal effect on the caffeine per bean. Because caffeine is a very stable compound. |
How to Choose the Perfect Roaster?
Choosing the perfect roaster requires a little effort but it is essential for getting the best results. There are several considerations when selecting a roaster:
Consider your roasting goals. Ask yourself: How much coffee do you want to roast at once? What roast levels (light, medium, dark) do you prefer? How much control do you want over the process? Don’t forget to factor in how many cups you typically brew daily — the number of coffee beans per cup can help you estimate your roasting needs.
If you’re just starting out, a simple and affordable method like a stovetop pan or popcorn popper might be enough. For more advanced roasting, investing in a home coffee roaster can provide greater control and consistency.
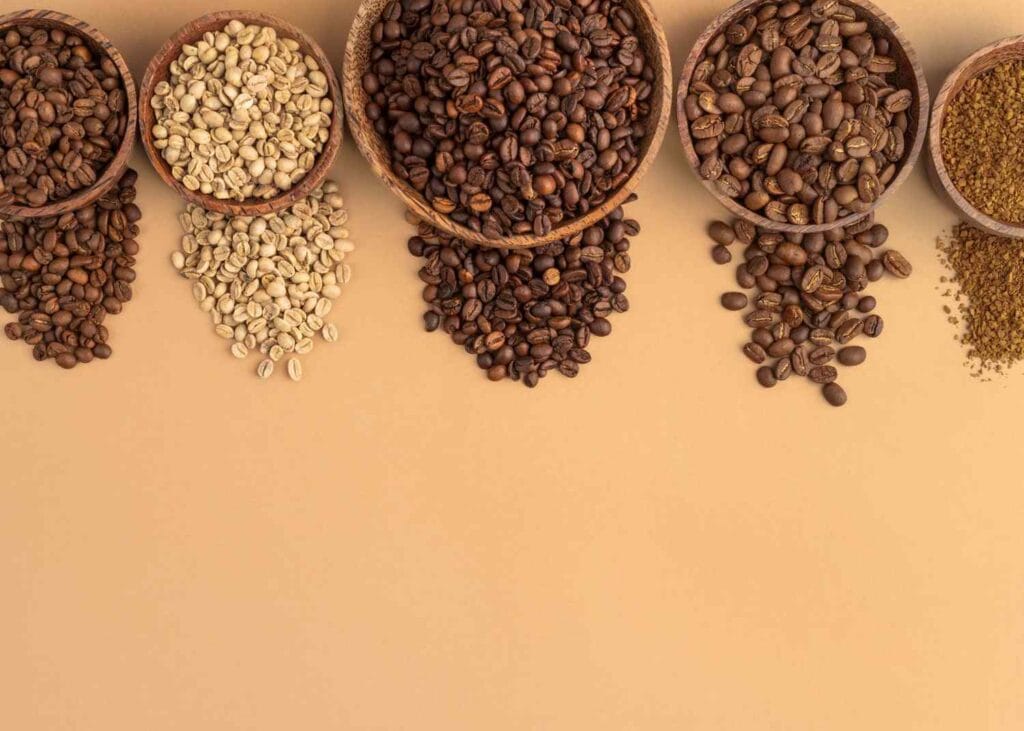
You also need to consider the batch size and your budget, of course. If you want affordable options and want to roast a small batch of coffee beans, popcorn poppers, stovetop pans, and ovens would work. If you have a mid-range budget you can go for entry-level home roasters or air fryers. With a high budget and large batch size you can aim for advanced roasters with customizable features or drum roasters.
How to Roast Coffee Beans: Complete Process

The roasting process of beans at home is not as intimidating as it might seem or sound, trust me. Plus, it’s a great way to avoid using stale coffee beans that have lost their flavor and aroma. Let me walk you through the whole process step by step. Ready? Let’s begin.
Get Green Beans
Start with high-quality green coffee beans — the unroasted raw form of your favorite coffee. Choose your favorite type of coffee beans. Your choice will influence the flavor profile of your roast.
Preheating the Roaster
The second step of the process is to preheat our roaster at a desired temperature. This step ensures that the beans start roasting as soon as we put them in. keep the temperature, usually around 350°F (176°C). Usually, the temperature of coffee bean roasting increases up to 250°C.
Adding the beans
Now the interesting part begins. Once your roaster is preheated, it is time to add the green, unroasted coffee beans. As the heat touches the beans, the roasting process begins.
Drying Stage
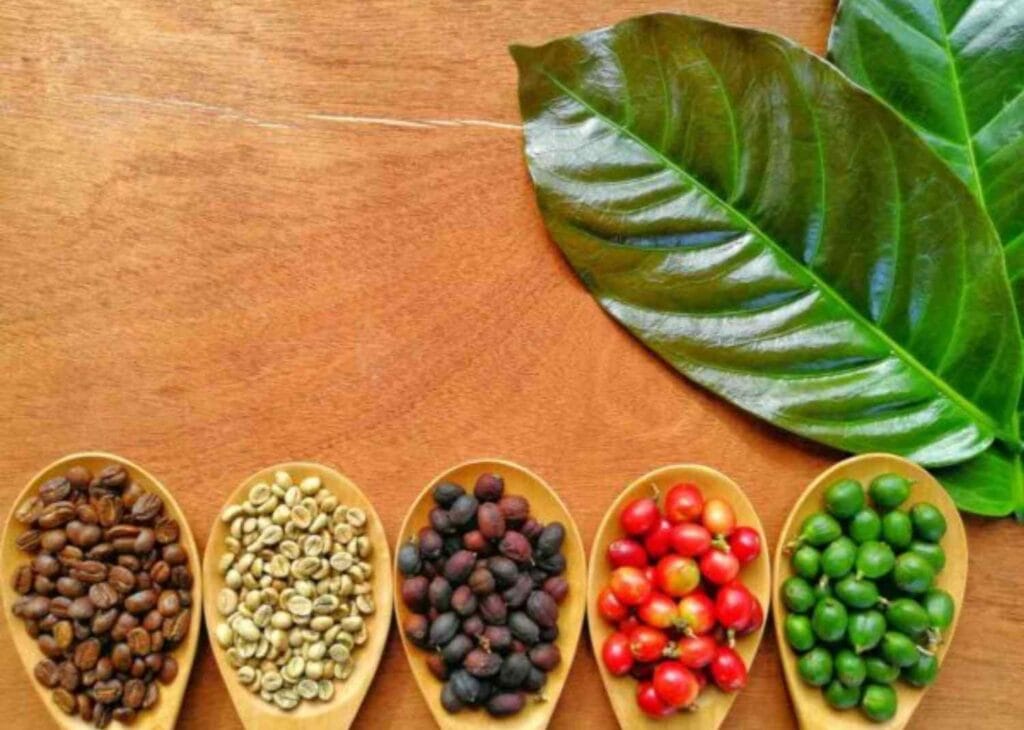
At this stage, the beans lose their moisture and start to dry. This stage is also called the color-changing stage because the beans change their color from green to yellow(ish).
Browning Stage
As most of the moisture from the beans evaporates, these beans undergo Maillard Reaction. This is nothing complex. Let me simply. Maillard Reaction is when the sugars react with amino acids and the beans start to turn brown. Aromas begin to form as the beans start to caramelize.
First Crack
Due to the caramelization, the beans produce a noise similar to that of a popcorn pop. It happens when your roaster reaches at 196 °C. This noise is generally called the first crack. The first crack is the sign that the beans at this point are lightly roasted. If you are aiming for a light roast, you can take off the beans soon after the first crack.
Second Crack
The second crack occurs when the beans reach a higher temperature usually at 224 °C. The beans become darker, and the oils start to be released, creating a shiny appearance on the surface of the beans. If you are aiming for a medium rather than a dark roast, you can stop the process a little before the second crack.
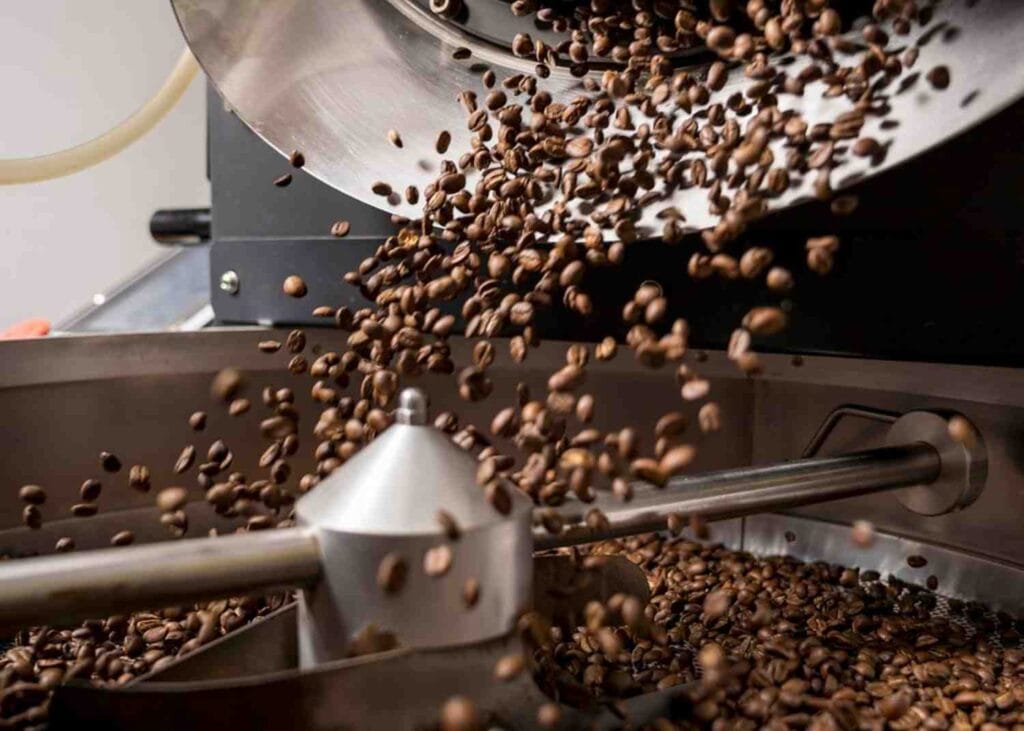
Cooling the Beans
Once the beans have reached your desired level of roast, they need to be cooled immediately in order to stop the roasting process. There are large circular cooling trays designed specifically for the purpose of cooling down the beans and separating the chaff (skin of the beans) used commercially. If you don’t have one, you can use a metal colander (a kitchen utensil used for washing, draining, or straining food). You can turn on the fan to help the beans cool down quickly.
Degassing
While you can brew the beans right after cooling, I recommend you let them rest for a couple of hours, preferably 12 hours. This rest time allows the carbon dioxide (CO2) that has built up during the roasting process to leave the beans. Meanwhile, you can also take a little rest as a reward for roasting the beans at home.
5 Methods to Roast Coffee at Home
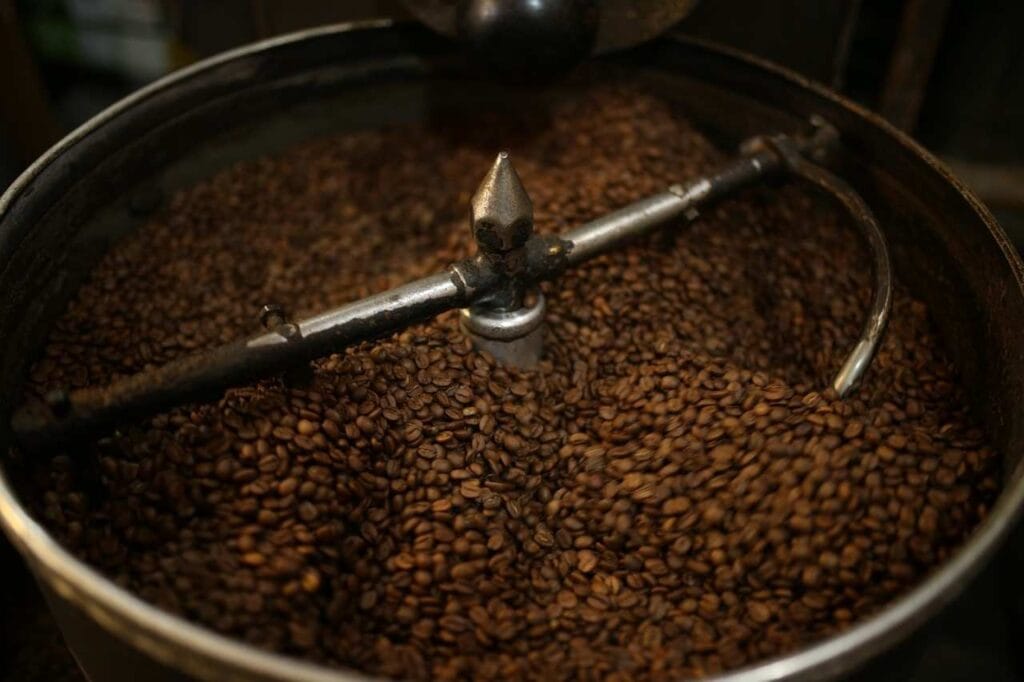
Home Coffee Roaster
Home coffee roasters are the equipment designed specifically for the purpose of roasting coffee beans at home. This method allows you to adjust temperature, time, and airflow to achieve your desired roast level. Modern home coffee roasters often include preset profiles and automatic functions, making them user-friendly even for beginners.
Stovetop Pan
Using a stovetop pan is one of the simplest methods to roast coffee beans at home. To begin, preheat a heavy-bottomed pan on medium heat, then add the green coffee beans. Stir the beans continuously with a wooden spoon to ensure even exposure to heat. monitor the color and listen for cracks to determine the roast level.
However, this method does not always ensure the perfect roast as the beans do not roast evenly in the pan. It’s also a bit smoky, so proper ventilation is necessary. If you are a first-timer or you prefer a hands-on experience you can go for this method.
Popcorn Popper
Popcorn poppers are a fun and affordable way to roast coffee beans at home. They work by circulating hot air around the beans, ensuring even roasting. Simply add a small amount of green coffee beans to the popper, turn it on, and monitor the process as the beans change color and crack.
Oven
Roasting coffee beans in an oven is a straightforward method. Spread the green beans in a single layer on a perforated baking sheet for proper airflow. Place the sheet in the preheated oven and stir the beans every 1–2 minutes to ensure even roasting.
Hot Air Fryer
If you’re wondering how to roast coffee beans in an air fryer and whether it works or not, let me tell you; It is a modern and innovative method that offers effective results. Start by preheating the fryer, then add a small batch of green beans to the basket. Set the timer for 8–12 minutes, or depending on your desired roast level, and shake the basket every 2–3 minutes for even heat distribution.
Time and Degree of Roast
The roast level depends on the time and temperature applied to the beans, resulting in different flavors and characteristics.
Light Roast: The coffee beans become light roasted shortly after the first crack, typically around 8–10 minutes. A light roast is generally achieved at temperatures ranging from 180°C to 205°C. At this level the beans have higher acidity and are known for floral and bright flavor profiles.
Medium Roast: Beans become medium roasted just before or at the second crack. Medium roasted beans have a medium brown color and offer a mix of natural bean flavors and roast-induced sweetness. The temperature range is between 210°C to 220°C.
Dark Roast: Dark roast coffee beans are dark brown to black. In the dark roasted coffee beans, oil is visible on the surface of the beans. The flavor is bold and smoky, with a bittersweet taste. Dark roasts are achieved at temperatures of 225°C to 240°C.
The Roast time can vary depending on the equipment you are using.
Final Sip
Roasting coffee beans at home is fun and gives a sense of accomplishment when drinking coffee made from home roasted beans. Other benefits include getting to enjoy the freshest possible coffee, cost saving, and complete control over the roast level.
Roasting beans at home just requires careful consideration of certain factors like budget, batch size, and roast levels before selecting a roaster and understanding of the roasting process.
Once you start roasting the beans at home, you’ll discover a whole new world of freshness and flavor that store-bought coffee simply cannot match.
Good luck with the roasting!
FAQs on Coffee Roasting
Can you grind coffee after roasting?
Yes, but it’s recommended to let the coffee beans rest for 12 to 48 hours after roasting. This resting period allows the beans to release carbon dioxide (a process called degassing) and develop their optimal flavor. Grinding immediately after roasting might result in underwhelming taste due to excess gas trapped in the beans.
What should be done before roasting coffee?
Before roasting, sort your green coffee beans to remove any defective or irregular ones. Preheat your roasting equipment to ensure even roasting. Decide on your desired roast level (light, medium, or dark) and prepare a cooling tray for when the beans are ready.
Are coffee beans washed before roasting?
Yes, coffee beans are typically washed during processing before they are dried and packaged as green beans. However, washing is not required right before roasting. If you wash them at home, it can introduce unwanted moisture, which can affect the roasting process.
How long to leave coffee after roasting?
After roasting, let the coffee beans rest for 12 to 48 hours in an airtight container with a one-way valve to release carbon dioxide. This resting period ensures better flavor extraction when brewing.
How to roast coffee beans with flavor?
To infuse flavor into coffee beans while roasting, you can add natural oils, spices, or extracts (like vanilla or hazelnut) after the roasting process, once the beans have cooled slightly. Adding flavor during roasting can burn the additives, so it’s best to coat the beans lightly post-roast for the desired effect.